
 1) WHICH NATION
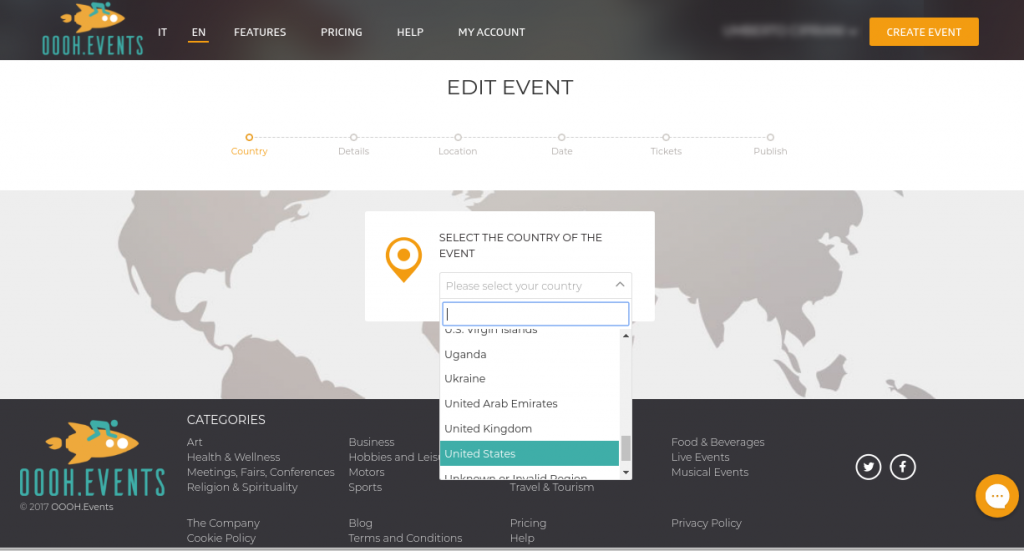
To create an event, YOU NEED TO select the nation where your event will take place. On the drop down menu select the country where your event will take place – click on the selected country. Click on Start.
2) EVENT TITLE
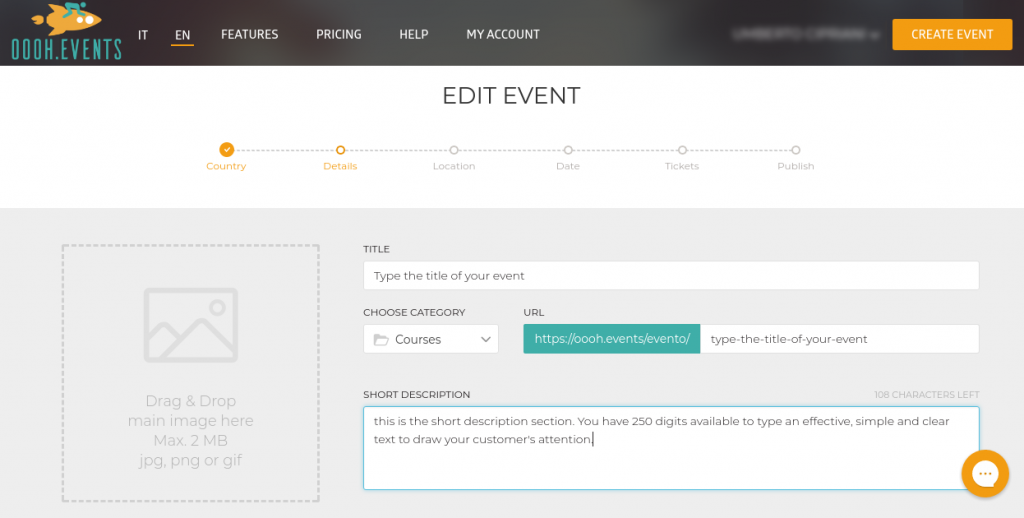
In this section you define you event title, category, the URL and the short description of your event.
- chose a title (simple and clear) that allows your customers to immediately understand the outline of your event;
- the short description is the upfront text that your customers will read and you have 250 digits to capture attention and convince them to read the rest;
- URL is automatically created on the basis of your title: you can change it at your convenience;
- upload the main image of your event; This image will be shown on the event lists – pick a good image…it is your event’s business card.
3) OTHER IMAGES
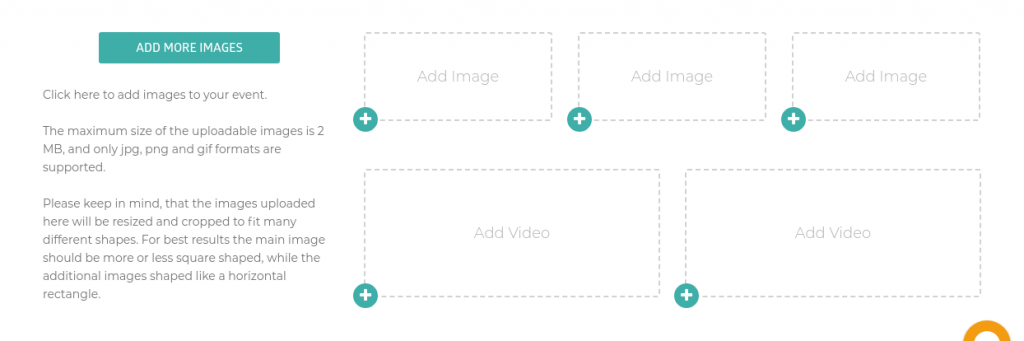
You can upload other images and up to a 2 videos from You Tube, which will allow you to complete the event presentation.
For YouTube videos all you need to do is copy and paste the URL of the video in the indicated box.
4) EVENT DETAILS
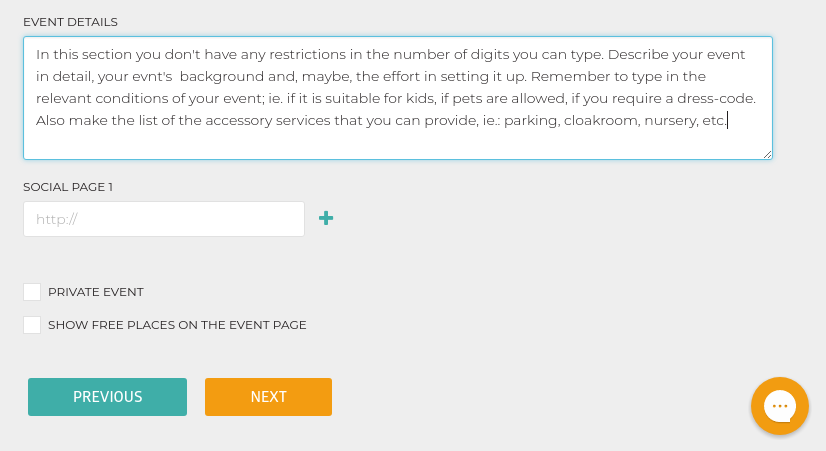
In the event details you can write, without limitations, all the information necessary to your customers. Beyond the description of your event, remember to indicate the economic conditions that ou will apply: refund policy, dress code, limitations to your event(ie.: pets allowed, cameras or videorecorders allowed, etc.), if it is suitable for children.
In the section social page you can insert the link of your social network profiles( with + you can add other links).
5) PRIVATE EVENT
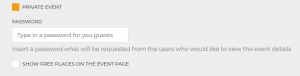
If you flag the box aside private event, you will be able to set up a password: only those who will be provided with such password will be able to access the details of the event and eventually buy tickets (or redeem free ones)
By flagging the box “show available places” you will allow to show on your event page the amount of seats/tickets still available which can be bought by customer.
6) LOCATION ADDRESS
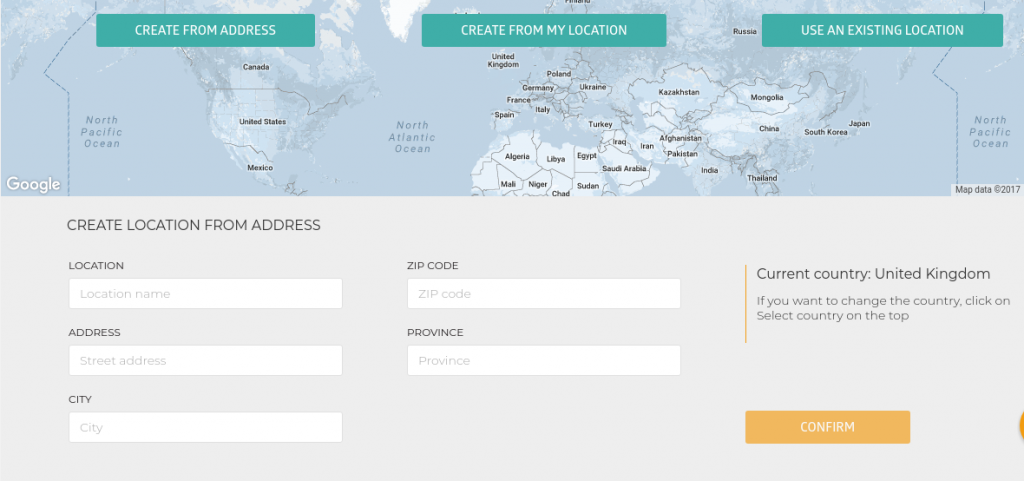
Type the address of the location where your event will be held.
If you are creating your first event, you will have to click on create from address. The system stores the location addresses so if you will want to create other events you will be able to select the location already stored by clicking on use an existing location.
7) EVENT DATE
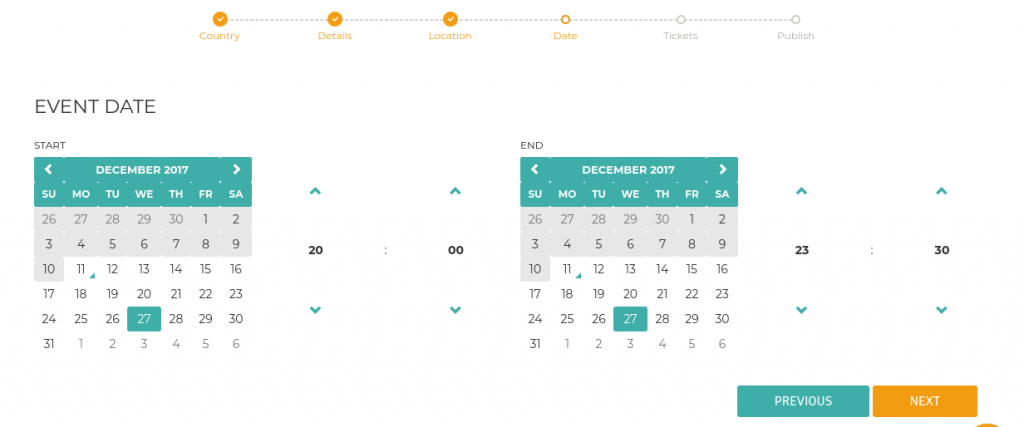 Type date and time of when your event begins. Repeat for when your event ends.
8) LOCATION CAPACITY, TARIFFS, BUNDLES

Here you can set up the capacity of the event location, tariffs, special offers and bundle deals.
9) TOTAL SEATS

In this section ( in the box total) you determine the maximum capacity of your location which means the maximum amount of tickets, special offers, bundles that can be sold.
10) DEFINE TARIFFS
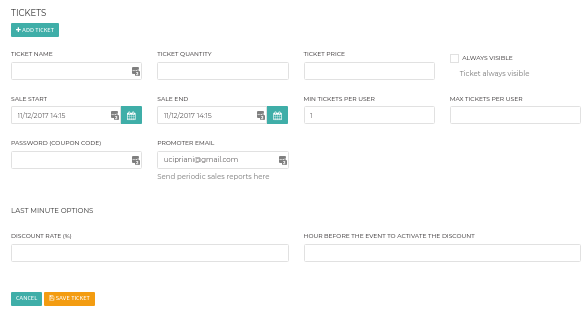
Click on add ticket and define the details of your ticket: begin with the ticket name (ie.: Full ticket price, Reduced ticket price, Early Bird, Last Minute, etc.), then input the amount of tickets you wish to sell; type your ticket price (without any currency symbol). Define date/time of the beginning and end sales (make sure the end sale date/time does not exceed the end of you event).
By flagging the always visible box you will allow your customers to see the ticket description even beyond or prior to the time/date range you have set.
Set up the minimum amount of tickets that the customer can buy (ie.: if you set up a special 2×1 deal the minimum amount of buyable tickets will be 2) then set up the maximum number.
Should you require to sell special tickets to a group of selected customers of your choice, you can define a password (coupon code) for each ticket: your customers will be able to access such ticket only with the provided password.
With the option Last Minute you can set up a discounted offer which will activate automatically at a specific number of hours (which you wil set) prior to beginning of the event.
Click on Save ticket : if you want to create a new ticket, start over agsin by clicking on add ticket.
11) CREATE BUNDLE
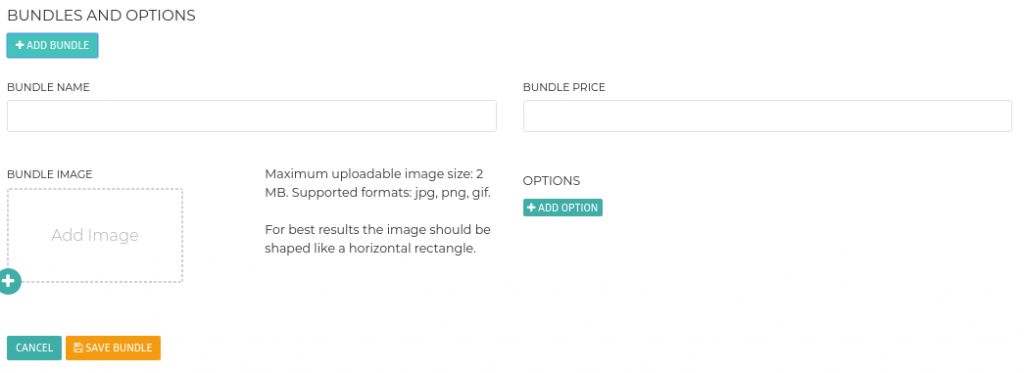
OOOH.Events gives you the possibility to sell other products or services by linking them with your tickets.
Click on add bundle and set up the product or the service you wish to sell( ie.: T-shirt, hat, book, pamphelt, gadget, drink, dinner, etc.); type the name of the product/service; type the product price; select add options if you want to indicate a size or colour (in case of a T-shirt); add an immage and click on save bundle
Also in this case you can add another bundle deal by clicking on add bundle.
12) MERGE BUNDLE + TICKET
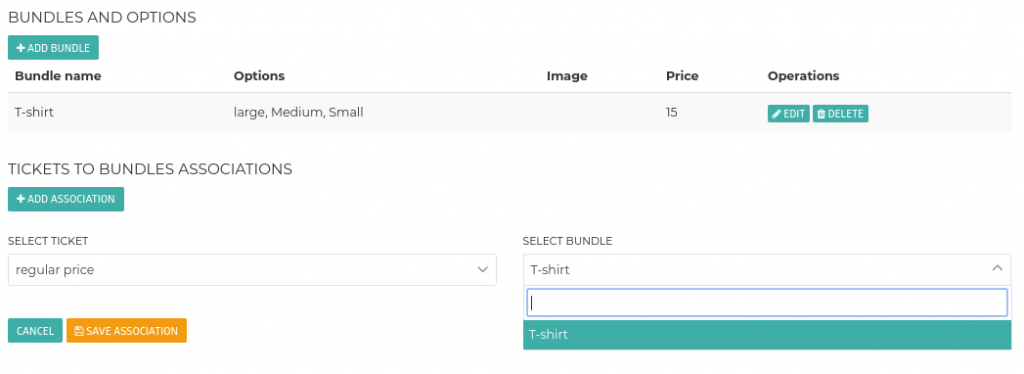
Link your bundle deal to one of the tickets you have created. Click on add merge, select the ticket , select the bundle and click on save merge.
13) PUBLISH EVENT OR SAVE DRAFT
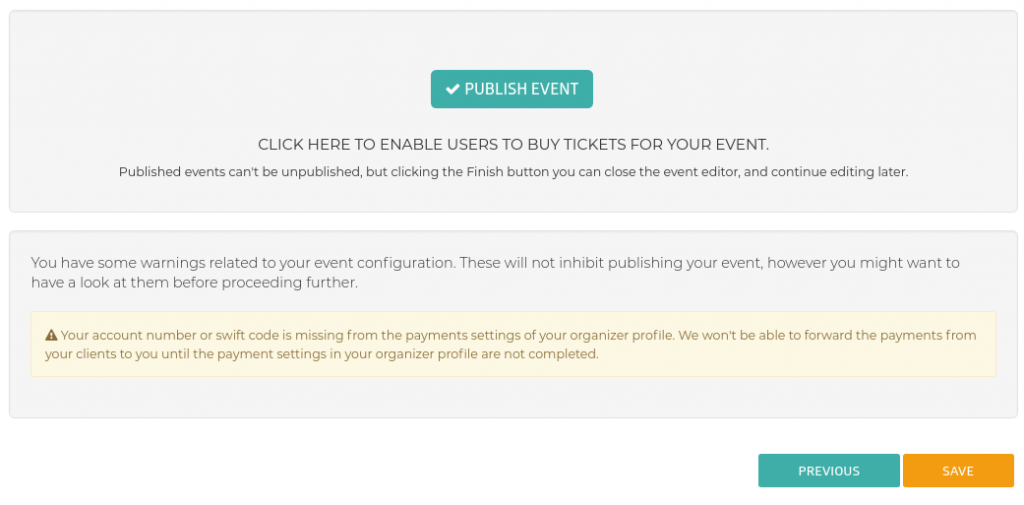
You can save your event so to edit it later (by clicking on the save button) or publish your event directly (in which case your event will be both saved and published on line).
Once published your tickets will be online within minutes and ready to be sold.
14) PROGRESSION CHART
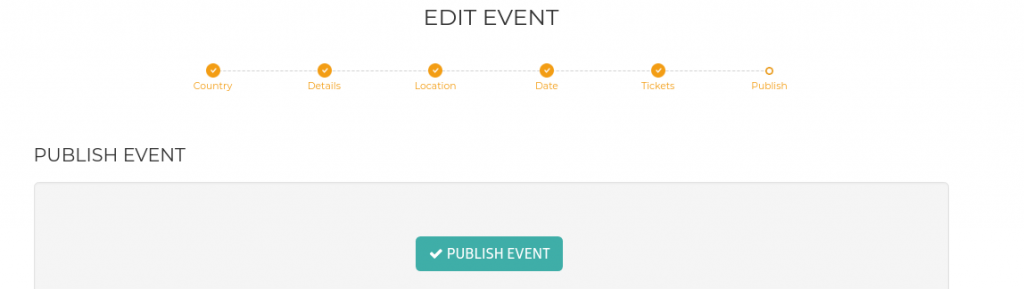 Once you want to retrieve your event for either changes or to implement further information, you can find your draft on MY ACCOUNT > MY EVENTS. Edit your event and if you wish to move across pages quickly, you can click on the text of the progression chart to get to the page you wish to modify